Selecting the Best Microphone for Fiverr Voice Gigs
Selecting the best microphone for fiverr voice gigs is the single most important technical decision you will make as a freelancer. Your microphone acts as your primary instrument, translating your vocal performance into a digital file that clients judge immediately upon playback. If your audio quality fails to meet professional standards, potential buyers will bypass your profile regardless of your talent or acting ability.
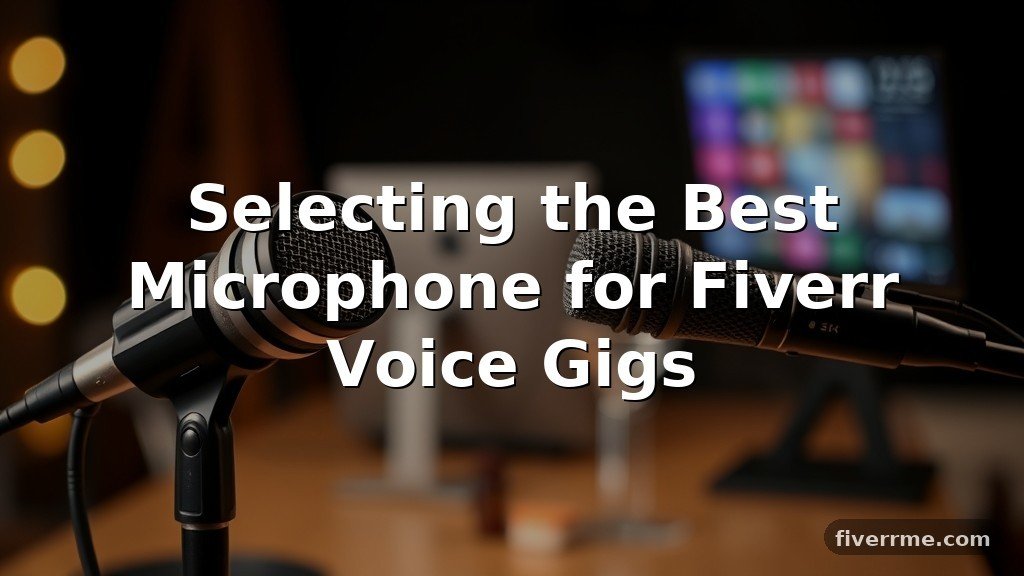
The industry-standard choice for professional voice actors is the Sennheiser MKH 416. This shotgun microphone is the gold standard for commercial and character work because of its ability to capture crisp, focused audio while rejecting unwanted room noise. For those working from a home studio, it provides the precise, “in-your-face” sound that casting directors and Fiverr clients prioritize for broadcast-quality delivery.
Understanding Your Studio Environment
Before spending money on gear, you must recognize that the best microphone for fiverr voice gigs will underperform in a poor acoustic space. A high-end microphone is designed to be sensitive, meaning it will capture the sound of your air conditioner, traffic outside, or the echo bouncing off your bare walls. You cannot fix a noisy environment with a better microphone.
A quiet, treated room is more valuable than a thousand-dollar microphone. You should invest in acoustic panels, heavy blankets, or a dedicated vocal booth before upgrading your hardware. If your room sounds like a bathroom or a hallway, your recordings will lack the professional polish required to compete on Fiverr.
The Role of Noise Floor
The noise floor refers to the level of background hum present in your recording space. Even when you are silent, electronic equipment and ambient environment create a baseline of noise. A professional-grade microphone will highlight this noise if your gain structure is not managed correctly.
Aim for a noise floor that is at least -60dB below your signal peak. If your microphone is picking up the hum of your computer fan, you need to physically isolate the mic or move your recording equipment further away. Using a long XLR cable is a cheap and effective way to move your noisy computer out of your immediate recording area.
Choosing Between Dynamic and Condenser Microphones
Understanding the difference between dynamic and condenser microphones is essential for your setup. Condenser microphones are the industry standard for voice acting because they capture high-frequency detail and nuance. They require phantom power, usually provided by an audio interface, to operate effectively.
Dynamic microphones are more rugged and less sensitive to background noise. They are often used in broadcast radio or in untreated rooms where ambient sound is a significant issue. While they can produce a warm, radio-style sound, they often require more “gain” to reach a usable volume, which can introduce hiss if your interface is not high-quality.
Comparing Key Microphone Technologies
The table below outlines the primary differences you will encounter when shopping for your first or next professional microphone.
| Feature | Condenser Mic | Dynamic Mic |
|---|---|---|
| Sensitivity | High | Low |
| Background Noise | Picks up more | Picks up less |
| Detail/Clarity | Excellent | Good |
| Power Requirement | +48V Phantom Power | None |
Top Tier Options for Professional Results
If you are ready to invest in a microphone that will last for a decade, the Sennheiser MKH 416 remains the king of the industry. It is a shotgun microphone that excels in tight spaces and delivers the iconic, punchy sound heard in movie trailers and national commercials. Many top-rated Fiverr sellers use this specific mic to ensure their sound remains consistent across thousands of orders.
Another excellent choice is the Neumann TLM 103. This large-diaphragm condenser is legendary for its ability to capture a rich, present vocal tone that sits perfectly in a mix. It is highly sensitive, so it requires a well-treated room, but it provides a level of clarity that is difficult to achieve with entry-level equipment.
Mid-Range Alternatives That Compete
You do not necessarily need to spend over a thousand dollars to get professional-grade results. The Austrian Audio OC18 offers a natural, uncolored sound that is highly versatile for different types of voice acting. It provides a flat frequency response, which means you have more control over the final sound during post-production.
The Rode NT1 (5th Generation) is another powerhouse that bridges the gap between budget and professional gear. It features a very low self-noise floor, which is critical for clean voice-over work. Its dual-output design allows you to record via both XLR and USB, providing a backup method if your audio interface fails.
Essential Accessories for Your Setup
A microphone is only as good as the signal chain supporting it. You will need a high-quality pop filter to eliminate plosives, which are the harsh “p” and “b” sounds that can ruin a recording. A metal mesh pop filter is generally easier to clean and more durable than fabric alternatives.
Stability is equally important. A sturdy boom arm allows you to position the microphone at the perfect height and distance from your mouth without transferring vibrations from your desk. Avoid cheap, flimsy stands that might sag over time or create mechanical noise when bumped.
The Importance of XLR Cables
Never underestimate the importance of your XLR cables. A cheap, poorly shielded cable can act as an antenna for electromagnetic interference, leading to buzzing or radio frequency noise in your tracks. Invest in balanced cables from reputable manufacturers to ensure a clean signal path from the mic to your interface.
You can learn more about the technical standards for audio equipment through the Audio Engineering Society to understand how these components interact. Maintaining a clean signal chain is the silent secret to getting repeat business on platforms like Fiverr.
Managing Your Audio Interface
Your microphone sends an analog signal that must be converted into digital data for your computer. This task is handled by an audio interface. If you buy a five-hundred-dollar microphone and plug it into a cheap, noisy interface, you will lose the quality you paid for.
Look for interfaces with high-quality preamps that provide clean gain. The Focusrite Scarlett series is a popular entry point, but moving up to an Audient iD14 or an SSL 2 can offer a noticeable improvement in the “noise-to-signal” ratio. These units provide the phantom power your condenser microphones need to function at peak performance.
Setting Your Gain Levels
Gain staging is the process of setting your input levels so the signal is strong but never clips. Clipping happens when your voice is too loud for the digital system to handle, resulting in harsh, distorted audio. A good rule of thumb is to aim for your peaks to hit between -12dB and -6dB on your recording software.
Never record so hot that you hit 0dB. Once the signal clips, the distortion is permanently baked into the file and cannot be removed. Always leave yourself “headroom” to allow for processing and editing later.
The 3-to-1 Rule and Mic Placement
Proper microphone technique is a skill that evolves with experience. The standard distance for most voice-over work is roughly six inches from the microphone. If you are too close, you will encounter the “proximity effect,” where low frequencies are boosted, potentially making your voice sound muddy or boomy.
If you are recording with multiple people or multiple microphones, remember the 3-to-1 rule. This rule states that the distance between microphones should be at least three times the distance from each microphone to its respective sound source. This minimizes phase cancellation and ensures a clean, isolated recording for each talent.
Experimenting with Mic Angle
Try positioning the microphone slightly off-axis to reduce the impact of harsh sibilance or plosives. Instead of pointing the mic directly at your mouth, angle it at 30 to 45 degrees. This simple adjustment can often smooth out the high-end frequencies and result in a more natural, broadcast-ready sound.
Always keep your posture in mind during a session. Standing while recording can open up your diaphragm and improve your vocal projection. If you prefer to sit, ensure your chair is silent and that you are not slouching, which can compress your airway and change the tone of your voice.
Software and Post-Processing
Once you have captured the audio, your digital audio workstation, or DAW, is where you finalize the product. Popular options include Audacity for beginners, or Adobe Audition and Reaper for more advanced users. These programs allow you to remove breaths, normalize the volume, and apply light compression.
Compression is a tool that brings your quietest and loudest sounds closer together. It makes your voice sound consistent and professional, ensuring that no words are lost in the mix. Be careful not to over-compress, as this can make your voice sound unnatural or “squashed.”
Essential Processing Steps
* Noise Reduction: Gently remove any persistent hum from your environment.
* Equalization (EQ): Cut out muddy frequencies below 80Hz and boost clarity in the 3kHz range.
* Compression: Even out the volume levels for a smooth, radio-style delivery.
* Normalization: Ensure your final file hits the standard loudness targets for your client.
Troubleshooting Common Audio Issues
Even with the best microphone for fiverr voice gigs, you will eventually encounter technical issues. If you hear a constant buzz, it is likely a “ground loop” caused by your equipment being plugged into different power sources. Try plugging your computer and your interface into the same power strip to resolve this.
If your audio sounds thin or tinny, you might be too far away from the microphone or using a setting that cuts too much bass. Check your interface settings to ensure that no high-pass filters or pads are accidentally engaged. These switches are easily bumped and can drastically alter the character of your mic.
Checking for Digital Latency
Latency is the delay between when you speak and when you hear yourself in your headphones. While it doesn’t affect the recording quality, it can make it very difficult to perform naturally. If you experience latency, lower your buffer size in your DAW settings, but be careful not to set it so low that your computer starts to crackle.
Always use closed-back headphones while recording. Open-back headphones can bleed sound into your microphone, creating an echo effect or feedback loop. A simple pair of industry-standard headphones will allow you to monitor your performance accurately without compromising your recording.
Consistency is Key to Fiverr Success
On Fiverr, your reputation is built on consistency. If you change your microphone setup halfway through a project, your clients will notice the difference in sound quality. Once you find a microphone and chain that works for your voice, stick with it until you have a specific, measurable reason to change.
Develop a “chain preset” in your software that works for your voice. This ensures that every delivery you send to a client has the same volume, tone, and processing profile. Professionalism is not just about the quality of your voice; it is about the reliability of your output.
Building a Professional Workflow
Create a standardized file-naming convention and a folder structure for your projects. This makes it easier to find old files when a client returns for a revision months later. Delivering clean, perfectly processed audio files on time will lead to better reviews and more repeat business.
When you do decide to upgrade, record a “before and after” test with your old and new microphone. Use the same script and the same room conditions. This allows you to objectively evaluate whether the new gear provides the value you expected before you commit to using it for paying clients.
Conclusion
Investing in the right equipment is a foundational step in building a sustainable career as a voice artist. While the best microphone for fiverr voice gigs depends on your specific voice and recording space, choosing a high-quality condenser or a reliable dynamic mic will significantly improve your delivery. Remember that the microphone is only one part of the equation; your environment, your signal chain, and your ability to process audio are equally vital to your success.
Start with a solid, professional-grade setup that allows you to provide consistent results for your clients. As your income grows on Fiverr, you can reinvest in your studio to further refine your sound.
Take the time to master your gear, and your audio quality will set you apart from the competition. Feel free to reach out with questions about specific setups as you grow your studio.