CSS and SVG fish animation techniques have been around for a while, but they’ve now been given a refresh with new, more vibrant and realistic animations. These techniques can be used to create interesting and engaging animations for web pages, blog posts, and even video content.
What are css and svg fish animation techniques?
CSS and SVG fish animation techniques are popular ways to bring an extra level of interactivity and appeal to a website. CSS or Cascading Style Sheets is a language used for designing web pages. It provides the ability to create rules that control different aspects of how content is displayed on a page, including animations. With CSS, you can create eye-catching animations without the need for Flash or JavaScript.
On the other hand, SVG or Scalable Vector Graphics is an XML-based vector image format that’s widely used in web design. SVG graphics are highly scalable and can be resized without losing quality, which makes them perfect for responsive websites. They’re also lightweight and easy to animate with modern web technologies like CSS.
When it comes to creating fish animations using CSS and SVG techniques, there are different methods depending on what you want to achieve.
Fish animations with css: Basic concepts
Fish animations with CSS are a visually stunning way to add interactivity and life to your website’s design. With the help of basic concepts and techniques, you can create animations that are both smooth and eye-catching, giving your users an engaging experience while they explore your site. There are several ways to create fish animations using CSS, but understanding the key principles is essential.
Firstly, it’s important to break down the various elements of a fish animation. This includes understanding how different parts move in relation to one another – for example, how the tail flaps back and forth while the fins flutter – as well as how these movements can be simulated using CSS. Secondly, choosing appropriate colors or shades can make a huge difference when designing fish animations. You want colors that are both bright enough to catch attention yet subtle enough not to overwhelm or distract from other design elements.
Using css for fish animations: Examples
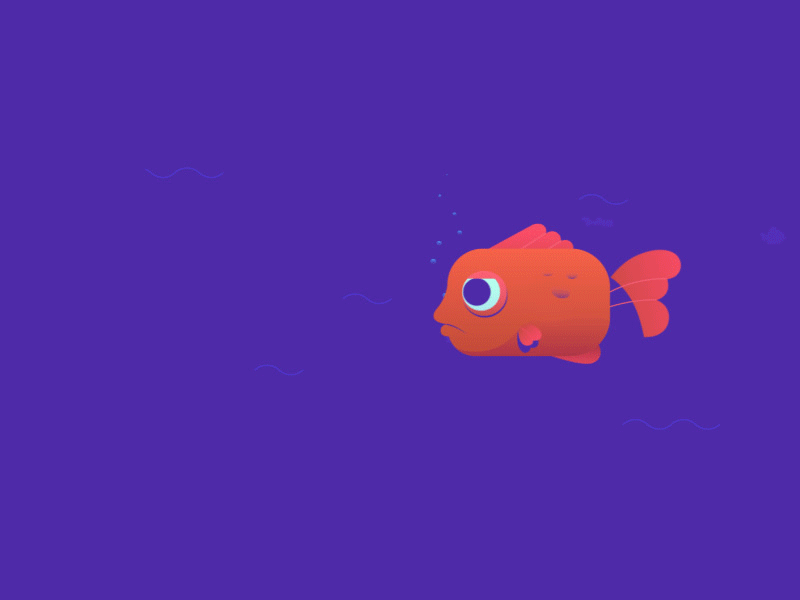
CSS is a powerful tool for web developers and designers alike. Not only can it be used to style websites, but it can also be used to create engaging animations that capture the attention of users. One of these animation types that has become increasingly popular is fish animations. These animations are not only visually stunning, but they can also add an extra layer of interactivity to websites.
One example of using CSS for fish animations is creating a background with swimming fish. By using the keyframe animation property in CSS, developers can create the illusion of fish swimming across the screen seamlessly. They can adjust the speed and directionality of the animation to mimic actual fish behavior, which adds an element of realism to the design.
Another example would be creating a hover effect where a fish jumps out of water when users hover over a certain image or text on your website.
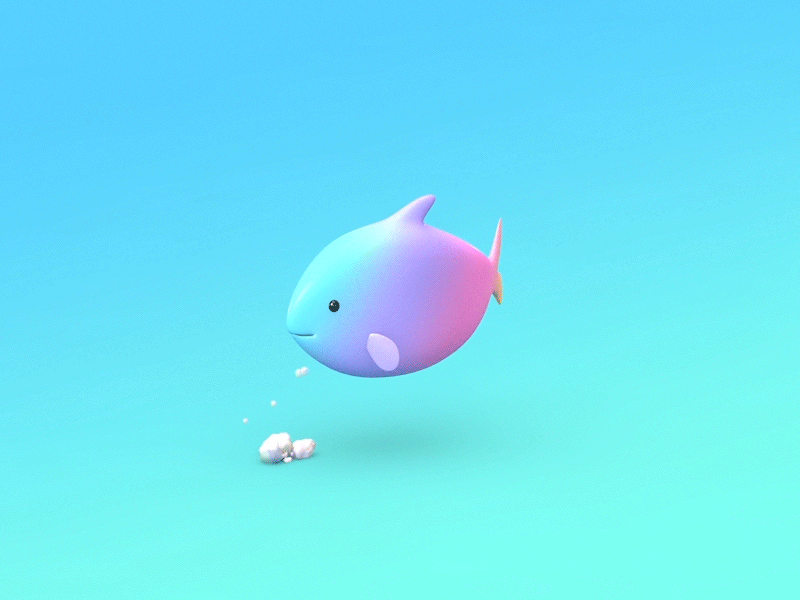
Animating a fish’s swimming motion with svg: Tips & tricks
SVG animation can add a new dimension to your designs and bring them to life. Designers are constantly exploring new ways of animating motion, but one area that is often overlooked is the swimming motion of fish. Animating a fish’s swimming motion with SVG can be challenging, but with some tips and tricks, you can achieve a highly realistic effect.
The first tip is to break down the different parts of the fish’s body and animate each part separately. This way, you have more control over the movement of each section, allowing you to create a more fluid and realistic swimming motion. Another important tip is to use easing functions in your animation timeline to mimic the organic movements of a real fish.
It’s also crucial to pay attention to detail when animating a fish’s swimming motion with SVG. Factors like hydrodynamics and water resistance should be considered carefully when designing the animation.
Summary: What you’ve learned and what next steps are
As you come to the end of a learning journey, it’s important to reflect on your progress and assess what you’ve learned. This will help you identify strengths and weaknesses, and guide you in taking the next steps towards achieving your goals. Whether it’s completing a course or finishing a project, summarizing what you’ve learned helps solidify your understanding and prepares you for future challenges.
Once you have summarized what you’ve learned, it’s time to take action. Consider the skills that need improvement and set goals for how to develop them further. Perhaps there are new topics or areas of interest that were sparked along the way – explore those avenues as well! Be sure to review any feedback received from instructors or peers, as this can provide valuable insights into areas that require more attention.
Remember that learning is an ongoing process – don’t let your newfound knowledge go stagnant!